

8 Key Questions to Ask a General Contractor in 2025
Hiring a general contractor is one of the most significant decisions you'll make for your construction or renovation project. The right partner transforms your vision into reality, while the wrong one can lead to budget overruns, endless delays, and immense stress. The key to a successful outcome lies in asking the right questions upfront. This isn't just about vetting credentials; it's about understanding their process, communication style, and how they handle the inevitable challenges that arise during any build.
This guide provides a comprehensive list of crucial questions to ask a general contractor, complete with actionable insights and red flags to watch for. By moving beyond basic inquiries, you gain a deeper understanding of a potential contractor's reliability, professionalism, and financial stability. This list is your blueprint for a thorough interview process.
By arming yourself with this knowledge, you can move forward with confidence, ensuring you partner with a professional who will deliver quality, value, and peace of mind. For a firm that embodies these principles, companies like South Eastern General Contractors set the standard with transparent processes and a commitment to client relationships, providing a benchmark for what you should expect from a top-tier builder. We will cover everything from licensing and insurance to payment schedules and warranties, giving you the tools to select your builder with certainty.
1. Are you licensed, bonded, and insured?
This is the absolute first question to ask a general contractor, and the answer should be an immediate and confident "yes." These three credentials form the bedrock of a professional, legally compliant, and financially secure operation. They are non-negotiable protections for you as the client, separating legitimate builders from risky, unqualified operators. Without them, you expose your project and finances to significant liability.

Understanding the "Big Three"
Each component offers a different, yet equally critical, layer of protection:
- Licensing: This confirms the contractor has met the minimum competency, experience, and examination standards required by your state or municipality. It's the government's stamp of approval that they are qualified to perform the work.
- Bonding: A surety bond protects you financially if the contractor fails to complete the job as promised, doesn't pay subcontractors, or violates building codes. If they abandon your project, you can file a claim against the bond to recoup your losses.
- Insurance: This is crucial. General Liability insurance covers property damage or bodily injury caused by the contractor's work. Workers' Compensation covers medical expenses for their employees if they get hurt on your property, preventing you from being held liable.
Actionable Insight: Do not just accept a "yes." Ask for the contractor's license number and the names of their insurance and bonding companies during your initial call. A professional will have this information ready, and their willingness to provide it immediately speaks to their transparency.
Actionable Verification Steps
Do not just take their word for it. Diligent verification is essential.
- Request Physical Copies: Ask for current certificates of insurance and copies of their state license and bond number.
- Verify with the Source: Use the license number to check their status directly with your state's contractor licensing board. Most boards have an online database for easy searching.
- Become an "Additional Insured": Request a certificate of insurance (COI) that names you as an "additional insured." This ensures the insurance company will notify you directly if the policy is canceled and gives you a direct path to file a claim if necessary.
- Check Expiration Dates: Ensure all credentials are valid and will not expire mid-project. If they will, ask for the contractor's plan for renewal.
2. Can you provide references from recent projects?
While a contractor’s portfolio shows the finished product, references reveal the entire journey. This question is critical because it offers unfiltered insight into a contractor's real-world performance, communication style, and reliability. A reputable contractor will be proud of their client relationships and should readily provide a list of recent, relevant references you can contact. Hesitation or excuses are a major red flag.

Uncovering the Real Story
Speaking with past clients allows you to verify claims and understand the contractor’s process from the homeowner's perspective. It’s your best tool for gauging client satisfaction beyond a polished sales pitch.
- Quality & Craftsmanship: How well did the finished work hold up?
- Problem-Solving: How did they handle unexpected issues?
- Budget & Timeline: Did they stick to the original agreement?
- Professionalism: Was the crew respectful and the site kept clean?
Actionable Insight: When you call a reference, start by confirming the project scope and date to ensure the information is relevant. Then, ask this crucial question: "What was the most challenging part of the project, and how did the contractor handle it?" The answer reveals their problem-solving skills, not just their ability to execute a flawless plan.
Actionable Verification Steps
Don't just collect names and numbers; conduct a thorough investigation.
- Request Relevant Projects: Ask for 3-5 references from projects completed in the last year that are similar in scope and scale to yours.
- Ask Specific, Open-Ended Questions: Go beyond "Were you happy?" Ask things like, "How did the contractor handle communication about project progress?" or "What would you do differently if you started the project over?"
- Inquire About Problems: No project is perfect. Ask, "What challenges came up, and how did the team resolve them?" Their problem-solving approach is more telling than a flawless record.
- The Ultimate Litmus Test: End the conversation by asking, "Knowing what you know now, would you hire them again?" An enthusiastic "yes" is the best endorsement you can get.
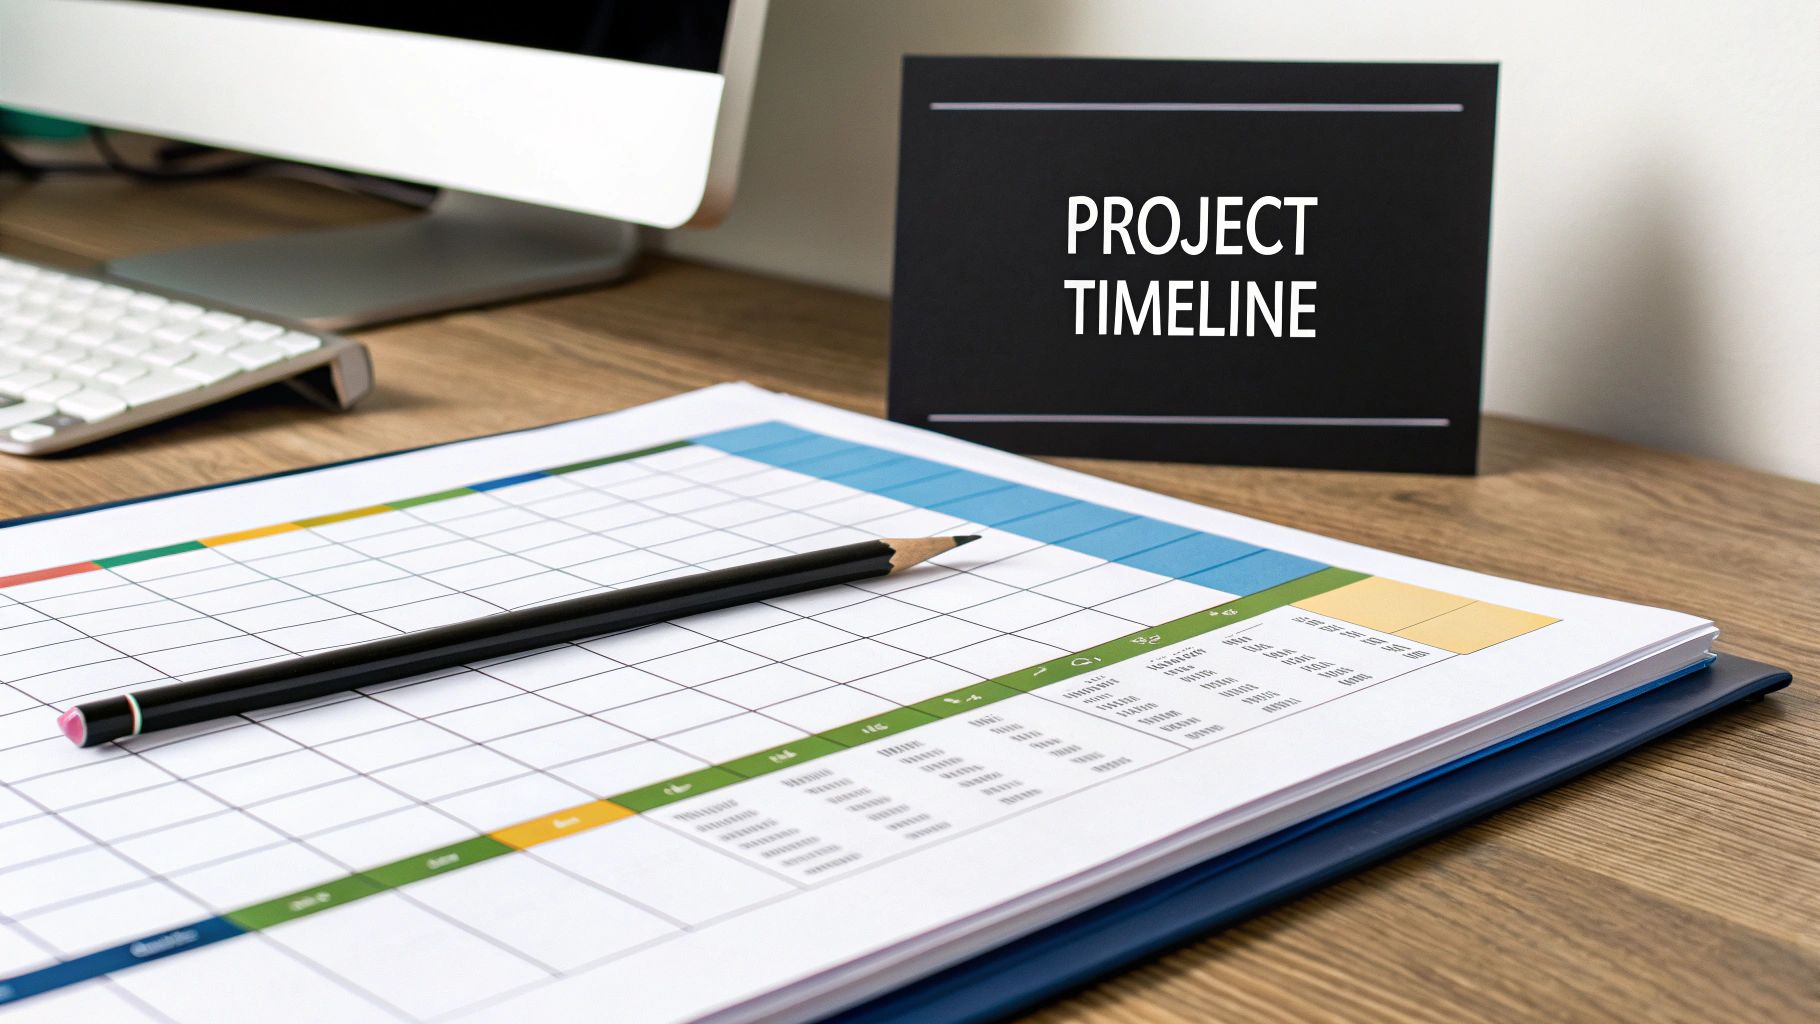
3. What is the detailed timeline for completion?
A vague "a few weeks" is not an acceptable answer. A professional contractor should be able to provide a detailed, phase-by-phase project schedule that manages expectations and demonstrates their organizational prowess. This question is crucial among the questions to ask a general contractor because it reveals their experience, planning skills, and ability to coordinate the complex dance of trades, material deliveries, and inspections. A well-defined timeline is your roadmap to a successful project, not just a guess.
Understanding the Project Schedule
A detailed timeline goes beyond a simple start and end date. It should break the project into distinct phases with clear dependencies.
- Key Milestones: The schedule should identify critical checkpoints such as "Demolition Complete," "Framing Inspection Passed," "Drywall Installed," and "Final Walk-through." These allow you to track progress against a clear plan.
- Material & Labor Coordination: The timeline shows that the contractor has thought through lead times for custom cabinets, availability of their tile installer, and the sequence of electrical and plumbing rough-ins.
- Realistic Timeframes: Experienced contractors know how long each phase takes and will build in buffers for common issues like weather or inspection delays.
Actionable Insight: Ask the contractor to identify the "critical path" in the schedule—the sequence of tasks that directly impacts the final completion date. Understanding this helps you see which potential delays are minor inconveniences and which could derail the entire project timeline, allowing for more productive conversations.
Actionable Verification Steps
Use the timeline as a tool for accountability and communication throughout the project.
- Get It in Writing: Insist that the detailed schedule, with specific dates and phases, is included as an addendum to your contract.
- Discuss Potential Delays: Ask what factors commonly cause delays on similar projects. This could include weather, special-order material backlogs, or unexpected structural issues.
- Clarify Extension Clauses: Understand the process for formally extending the timeline. A legitimate delay, like a homeowner-requested change, should trigger a written change order that adjusts the schedule and cost.
- Schedule Regular Check-ins: Establish a weekly meeting to review progress against the timeline. This keeps communication open and allows for quick adjustments if issues arise.
4. How do you handle changes and cost overruns?
Even the most meticulously planned project can encounter surprises or evolve once work is underway. This makes understanding a contractor's process for handling changes one of the most critical questions to ask a general contractor. A well-defined change order process is the hallmark of a professional who prioritizes transparency, budget control, and clear communication. It prevents minor adjustments from spiraling into major disputes and ensures you remain in control of your project's scope and finances.

Understanding the Change Order Process
A change order is a formal document that amends the original contract, detailing new work, associated costs, and any impact on the project schedule. These can be initiated by you (e.g., deciding on higher-end fixtures) or by the contractor due to unforeseen issues.
- Unforeseen Conditions: A bathroom remodel might uncover hidden water damage behind the walls requiring immediate remediation.
- Code-Required Upgrades: A contractor may find the existing wiring is not up to current electrical code, necessitating a mandatory upgrade.
- Client-Requested Changes: Mid-project, you might decide you want to add built-in bookshelves not in the original plans.
Actionable Insight: A formal, written change order process protects both parties. Before signing the contract, request a blank sample of their change order form. Review it to ensure it clearly itemizes new material costs, labor charges, and any associated schedule adjustments. This simple check confirms their process is as professional as they claim.
Actionable Verification Steps
A verbal agreement on a change is a recipe for conflict. Insist on a clear, written procedure.
- Review Their Sample Form: Ask to see a blank copy of their standard change order form. It should have clear sections for a description of the change, a cost breakdown (labor and materials), and the effect on the timeline.
- Discuss the Approval Process: Confirm that all changes, regardless of size, require your signed approval before any additional work begins.
- Clarify Markup Percentages: Contractors typically add a markup (e.g., 15-20%) to the cost of materials and labor for change orders to cover their overhead and administration. Ask what this percentage is upfront so there are no surprises.
- Establish It in the Contract: Ensure the change order procedure is explicitly defined in the final contract.
5. What is your payment schedule and terms?
How a contractor expects to be paid says a lot about their financial stability and project management approach. A clear, milestone-based payment schedule is the hallmark of a professional operator, aligning their compensation with tangible progress. This question is crucial for setting financial expectations and protecting you from contractors who may be undercapitalized or disorganized, ensuring your money is tied directly to completed work.
Understanding Payment Structures
A fair payment schedule minimizes your risk while providing the contractor with the necessary cash flow to keep the project moving.
- Upfront Deposit: A small initial payment is standard, often 10% or the cost of initial materials. Be wary of large down payment requests, as this can be a red flag. In some states, like California, the legal limit for a down payment is 10% of the contract price or $1,000, whichever is less.
- Progress Payments: Payments should be tied to specific, verifiable milestones (e.g., "foundation poured," "framing complete"). This ensures you only pay for work that has been successfully completed.
- Final Payment & Retainage: The final payment, often 10-15% of the total, should only be made after a final walkthrough is complete, all items on the punch list are addressed, and you have received all necessary lien waivers.
Actionable Insight: A payment schedule based on project milestones, not arbitrary dates, is a critical project management tool. When reviewing the proposed schedule, ensure each payment is tied to a tangible, verifiable stage of completion that you can physically see, like "drywall installed," rather than a vague milestone like "50% complete."
Actionable Verification Steps
Clarify all payment details before signing the contract.
- Get it in Writing: Ensure the full payment schedule, with specific dollar amounts and corresponding milestones, is detailed in the written contract.
- Verify Lien Waiver Procedures: Ask how they handle lien waivers from subcontractors. You should receive these waivers before making a progress payment to ensure the subs have been paid and cannot place a lien on your property.
- Use Traceable Payments: Avoid paying in cash. Use checks or bank transfers to create a clear financial record of all transactions.
- Confirm the Final Payment Process: Discuss the "punch list" process and confirm that the final payment is due only after you have signed off on the project's 100% completion. You can explore a detailed breakdown of construction pricing and payment structures to better understand industry standards. Learn more about pricing and payments on southeasterngc.com.
6. Do you pull permits and handle inspections?
A contractor’s approach to permits and inspections is a critical indicator of their professionalism and commitment to safety and quality. The correct answer to this question must be an unequivocal "yes." This process ensures your project is built to meet mandatory local building codes, legal requirements, and safety standards. A contractor who suggests skipping this step is not saving you money; they are exposing you to significant legal, financial, and safety risks.
Understanding Permits and Inspections
These are not optional bureaucratic hurdles; they are essential safeguards for your investment and well-being.
- Permits: A permit is an official approval issued by your local government agency that allows you or your contractor to proceed with a construction or remodeling project. It confirms that the project plans comply with building codes, zoning laws, and public safety.
- Inspections: Inspections are conducted by a city or county official at various stages of the project. Their job is to verify that the work has been done correctly and according to the approved plans and code, from foundation footings to final electrical wiring.
Actionable Insight: Pulling a permit under the contractor's name legally makes them responsible for ensuring the work meets code. If a contractor asks you to pull the permit as a homeowner, it's a major red flag that they may be unlicensed, uninsured, or trying to evade accountability. Your immediate action should be to end the conversation and remove them from consideration.
Actionable Verification Steps
Ensure the permitting process is handled correctly from start to finish.
- Confirm Responsibility in Writing: Your contract should explicitly state that the general contractor is responsible for securing all necessary permits for the project's scope.
- Verify Before Work Begins: Ask for the permit number and a physical copy of the posted permit before any demolition or construction starts. You can often verify this number online through your local building department’s portal.
- Understand the Schedule: Ask the contractor to explain the inspection schedule. When will inspectors need to visit the site (e.g., after framing, after plumbing rough-in), and how will they coordinate it?
- Keep All Documentation: Request copies of every passed inspection report and the final certificate of occupancy or project sign-off once all work is complete. This paperwork is crucial for your home’s records, future sales, and insurance purposes.
7. What warranty do you provide on your work?
A contractor’s response to this question speaks volumes about their confidence in their craftsmanship and their commitment to long-term client satisfaction. A warranty is a written promise to stand behind the quality of the work and correct defects that may appear after the project is complete. This is a critical question to ask a general contractor, as it separates true professionals who build to last from those who may disappear once the final payment is made, leaving you to deal with any issues.
Understanding Warranty Coverage
A good warranty provides clear, specific protections. It’s important to understand not just the duration but also what is covered. Most contractor warranties focus on "workmanship" or "labor."
- Workmanship Warranty: This covers defects in the installation or assembly performed by the contractor and their team. For example, this would cover leaks caused by improper shingle installation, separate from the shingle manufacturer's product warranty.
- Scope and Duration: A typical warranty for a major renovation might last for one year. Specific trades may offer longer terms.
- Exclusions: Be aware of what is not covered. Warranties usually exclude damage from normal wear and tear, lack of maintenance, or issues caused by products you supplied.
Actionable Insight: A comprehensive, written warranty is a sign of a contractor who is proud of their work. Ask them to explain the difference between their workmanship warranty and the manufacturers' warranties on materials (like roofing or windows). This ensures you know exactly who to call for different types of problems, saving time and frustration later.
Actionable Verification Steps
A verbal promise is not enough. Secure and understand the warranty before you sign the contract.
- Get It in Writing: The warranty terms must be a formal, written part of your construction contract. It should clearly state the duration, what is covered, and any exclusions.
- Clarify the Claims Process: Ask, "If I need to make a claim, what is the exact process?" You should know who to contact, the expected response time, and how a repair will be scheduled.
- Discuss Transferability: If you plan to sell your home in the near future, ask if the warranty is transferable to the new owner. This can be a valuable selling point.
- Understand Maintenance Requirements: Some warranties are voided if you don't perform specific maintenance. For example, a deck warranty might require annual sealing. Make sure you understand these obligations.
8. Who are your regular subcontractors and suppliers?
A general contractor rarely works alone. Major renovations and custom builds are complex operations requiring a team of specialized tradespeople. This question peels back the curtain on the contractor’s professional network, revealing the quality and stability of the team that will actually build your project. An established contractor with a roster of trusted, long-term partners is a sign of consistency, reliability, and effective project management.
Understanding the Extended Team
The quality of your project is only as good as the weakest link in the construction chain. A great general contractor who hires unreliable subcontractors can lead to delays, poor craftsmanship, and communication breakdowns.
- Specialized Trades: For a kitchen remodel, the contractor’s go-to plumber and electrician are just as important as the cabinet installer. A long-standing relationship with the same electrical company indicates trust and a proven track record.
- Material Suppliers: Consistent relationships with specific lumberyards or window manufacturers often mean better pricing, priority service, and familiarity with quality materials, preventing supply chain delays.
Actionable Insight: Asking about subcontractors isn't about micromanaging; it's about vetting the entire team. A great follow-up is, "Do you require your subcontractors to carry their own liability and workers' compensation insurance?" The only acceptable answer is "yes." Ask them to confirm this will be verified before they step onto your property.
Actionable Verification Steps
Probe deeper than just getting a list of names. Assess the quality and integration of their network.
- Inquire About Relationships: Ask, "How long have you been working with your primary plumber and electrician?" Long-term partnerships are a strong positive signal.
- Verify Their Credentials: Confirm that the contractor requires all subcontractors to carry their own liability insurance and workers' compensation. Ask to see proof, especially for high-risk trades like electrical and plumbing.
- Discuss Coordination and Communication: Ask how they manage the schedule and communication between different trades. Do they use a project management app? Do they hold regular on-site meetings?
- Check Their Work: If possible, ask to see a project where their key subcontractors (like a tiler or cabinet maker) performed work. This gives you a direct look at the quality you can expect.
Key Questions Comparison for General Contractors
| Aspect | Are you licensed, bonded, and insured? | Can you provide references from recent projects? | What is the detailed timeline for completion? | How do you handle changes and cost overruns? | What is your payment schedule and terms? | Do you pull permits and handle inspections? | What warranty do you provide on your work? | Who are your regular subcontractors and suppliers? |
|---|---|---|---|---|---|---|---|---|
| Implementation Complexity 🔄 | Moderate – requires verification and documentation | Low – requires providing contact info | High – detailed scheduling and coordination | Moderate – formalized change order process | Low – setting payment milestones | Moderate – involves permit processing and inspections | Low – providing written warranty terms | Moderate – coordination with multiple subcontractors |
| Resource Requirements ⚡ | Licensing boards, insurance policies | Client contacts and project records | Project management tools and expertise | Documentation system and communication | Payment processing and tracking | Knowledge of local regulations and inspection scheduling | Warranty documentation and claims process | Network of trusted subcontractors and suppliers |
| Expected Outcomes 📊 | Legal protection, financial security, peace of mind | Insight into contractor reliability and quality | Clear progress expectations, risk of delays | Budget control, transparent pricing | Financial security, minimized scam risk | Code compliance, legal protection | Quality assurance, post-project issue resolution | Quality control, efficient project flow |
| Ideal Use Cases 💡 | All projects requiring legal compliance | Projects needing validation of contractor performance | Projects with strict scheduling needs | Projects prone to change orders or scope adjustments | Projects needing clear financial milestones | Any project requiring permits | Projects where workmanship guarantee matters | Projects involving multiple specialized trades |
| Key Advantages ⭐ | Ensures professionalism and protection | Real-world feedback from past clients | Better planning and progress tracking | Prevents disputes, maintains budget control | Protects owner investment, enforces milestone payments | Ensures legal compliance and work quality | Provides confidence and recourse | Enhances coordination and quality through trusted teams |
Choosing Your Partner for a Lasting Legacy
Embarking on a construction project, whether a custom home, a commercial development, or a government facility, is a significant investment of time, resources, and trust. The comprehensive list of questions to ask a general contractor detailed in this guide serves as your essential toolkit for navigating this critical decision. Moving beyond simple yes-or-no answers allows you to evaluate a contractor's true character, operational integrity, and commitment to client success.
These questions are designed to be conversation starters, opening the door to deeper discussions about process, philosophy, and partnership. A truly professional contractor will not only provide clear, direct answers but will also appreciate your diligence. They will see it as a sign that you are a serious and engaged client, which is the foundation of any successful project collaboration. Remember, the goal isn't to catch them in a "gotcha" moment but to build a relationship based on transparency and mutual respect from day one.
From Questions to Confidence: Your Actionable Next Steps
With this framework in hand, your path forward is clear. It's time to transform this knowledge into confident action.
- Finalize Your Shortlist: Review your initial list of potential contractors. Based on their initial communications and online presence, narrow it down to the top three to five candidates who seem most aligned with your project's scope and values.
- Schedule In-Person Interviews: Contact each shortlisted contractor to schedule a formal interview. This is where you will deploy the questions to ask a general contractor from this article. Treat it as a professional interview, because that is exactly what it is.
- Document and Compare: During each interview, take detailed notes. Don't just record the answers; note the contractor's demeanor. Were they confident and forthcoming, or evasive and vague? Afterward, create a simple comparison chart to objectively evaluate each candidate against your key criteria, such as their approach to change orders, warranty terms, and communication style.
- Trust Your Gut: While data and documentation are crucial, your intuition plays a vital role. The best contractor on paper may not be the best cultural fit for you. The relationship will involve months of close collaboration, so choose a team you feel comfortable and confident working with.
By thoroughly vetting each potential partner, you are doing more than just hiring a builder. You are selecting a guide, an advocate, and a steward for your vision. You are investing in a seamless process, protecting your financial investment, and ensuring the final result is not just a structure, but a lasting legacy of quality and craftsmanship. The diligence you apply now will pay dividends throughout the entire construction journey and for years to come.
Ready to partner with a team that welcomes your questions and is built on a foundation of transparency and excellence? See how South Eastern General Contractors transforms the construction process into a collaborative and rewarding experience by visiting South Eastern General Contractors to explore their portfolio and learn about their commitment to building lasting legacies.
Article created using Outrank