

Your Ultimate House Walk Through Checklist: An Expert Guide
A house walkthrough checklist is your last opportunity to give a property a final, thorough once-over before you sign on the dotted line. This isn't just a casual stroll through the rooms; it's a mission to confirm that all agreed-upon repairs have been handled and that no new, nasty surprises have popped up since you last saw the place. Think of it as your final line of defense, a systematic way to check everything from the faucets to the foundation and protect your massive investment.
Your Last Line of Defense Before Closing
You've made it! The final walkthrough feels like the last lap of a marathon, but this is where you can either secure a victory or stumble right before the finish line. This is your one remaining opportunity to ensure the house you fell in love with is the one you're actually about to own.
With over 21+ years of proven results building and inspecting homes right here in the Fayetteville and Lumberton communities, we've seen it all at South Eastern General Contractors (SEGC). As a Native American-owned, 8(a), and HUBZone-certified company, our commitment to quality is unwavering. This final check is, without a doubt, your single most powerful tool to verify that negotiated repairs are done and no new problems have emerged. We're here to help you walk through that front door with total confidence, armed with the knowledge of what to look for to protect your family's new home.
The Purpose of a Meticulous Walk Through
Let's be clear: the final walkthrough is not a second home inspection. You've already done that. The mission here is much more focused and has two main goals:
- Verification: You're here to confirm that the seller actually completed all the repairs you both agreed on, and that the work was done to a high standard. No cutting corners.
- Consistency: You need to make sure the property is in the exact same shape (or better!) as it was when you first agreed to buy it.
This is your chance to catch any last-minute issues, like a fresh water stain on the ceiling from a new leak or a refrigerator that suddenly decided to stop cooling. We had a client in Fayetteville who, during their walkthrough, discovered the sellers had swapped out beautiful, custom light fixtures for cheap ones—fixtures that were explicitly included in the sale. Our expert guidance helped them catch it, saving them a massive headache and a fight after closing.
At SEGC, we believe in building legacies, not just structures. This final check is about protecting that legacy from day one, ensuring the quality you were promised is the quality you receive.
What to Bring for Success
Walking in prepared can make all the difference. If you show up with the right tools and documents, you'll be organized, focused, and much less likely to miss something important.
Make sure you bring your purchase agreement, the original home inspection report, and your phone to snap pictures of anything that looks off. A simple phone charger is also a brilliant little tool for quickly testing every single electrical outlet—you'd be surprised what you find.
Our own commitment to client trust is built on a foundation of meticulous quality control, which we've honed over two decades. And if you want to get really specific about the plumbing, a comprehensive home plumbing inspection checklist is an excellent resource to make sure you don't miss a single drip.
Start Your Inspection From the Outside In
I know the first thing you want to do is race inside and start picking out paint colors, but trust me on this: your walkthrough needs to start at the curb. Think of the home's exterior as its armor. If you spot a chink in that armor now, you can save yourself a world of hurt later. We treat every one of our SEGC construction projects across Fayetteville and Lumberton with this same outside-in approach because it ensures no detail is overlooked.
The number one enemy of any house is water. So, where does it go? Stand back and look at the lay of the land. The ground should gently slope away from the foundation, not funnel rain right up against it. Are the gutters clogged with leaves? Do the downspouts dump water a good few feet from the house or just create a puddle at the corner? We see it all the time—standing water near the foundation is a tiny problem that grows into a monster if you ignore it.
Get Hands-On With the Structure and Siding
Alright, now it’s time for a closer look. Walk the entire perimeter and get friendly with the foundation. You're looking for new cracks or any signs that things have shifted. Tiny hairline cracks are often just the house settling, but if you see big, ugly horizontal or stair-step cracks in the brick, that’s a different story. That needs a professional eye, and fast.
Next, run your eyes—and even your hands—over the siding, brick, or whatever exterior finish the house has. You’re playing detective here. Look for:
- Fresh Dings: Did the previous owners' moving truck leave a parting gift on the siding?
- Wobbly Bits: Is anything loose or pulling away from the wall?
- Paint Problems: Does the paint look as good as you remember, or are there new chips and peels?
In our 21+ years of building and renovating, we've learned that a home's exterior talks—you just have to listen. A Lumberton client of ours spotted freshly damaged siding during their final walkthrough. The sellers had slapped some paint on it, hoping no one would notice. A careful inspection saved our client from a nasty surprise and a big repair bill because they knew to look closely.
Don't Forget to Flip the Switches
Finally, it's time to test everything that's supposed to do something. This isn't just about looks; it's about making sure the house actually works. Go on, flip every single exterior light switch. Porch lights, garage lights, that weird floodlight out back—all of them.
Here's a pro tip: bring a phone charger and plug it into every outdoor outlet. You’ll thank me when you're not wrestling with a dead outlet during your first backyard barbecue.
Pop the garage door open and closed, both with the remote and by hand. Rattle the gates, check the fences, and make sure every latch clicks securely. Ring the doorbell. Peek inside the mailbox. These little details matter. It's all part of protecting your investment, a principle we’ve woven into the fabric of our Native American-owned business. Nailing this external review on your house walk through checklist puts you in the driver's seat for the rest of the inspection.
A Room-by-Room Guide to the Interior
Alright, you've given the outside a solid look-over. Now for the fun part—let's head inside. This is where you'll actually live, so every nook and cranny needs to be just as you expected. After more than 21 years of building custom homes from Fayetteville to Lumberton, our local leadership at SEGC has developed a systematic way to tackle the interior walkthrough so nothing gets missed.
This isn't about being nitpicky for the sake of it. It’s about making sure the home you’re about to own is exactly what you signed up for. The key is to be methodical. Pick a starting point—maybe the front door, or the top floor—and stick with it. Consistency is your best friend here.
The Foundation: What to Check in Every Single Room
As you move from room to room, you’ll want to develop a rhythm. By checking the same core elements in each space, you train your eye to spot inconsistencies.
Here’s what you should be laser-focused on everywhere:
- Walls and Ceilings: Scan for any new scuffs, dings, or nail pops that have appeared since your last visit. A fresh, poorly done drywall patch is a major red flag—what is it hiding?
- Flooring: Don't just glance down. Walk the entire floor. Feel for loose boards, listen for squeaks, and look for new scratches on the hardwood or stains on the carpet.
- Windows and Doors: This is a hands-on job. Open and close every single window and door. Do they stick? Do they latch and lock securely? A window that won't lock is a security issue, plain and simple.
A door that doesn't close smoothly isn't just an annoyance; it could hint at foundation settling or improper installation. You’re also double-checking that any agreed-upon repairs—like fresh paint or new caulk—have actually been completed to a high standard of quality.
Kitchens and Bathrooms: The High-Stakes Rooms
Pay extra attention when you get to the kitchens and bathrooms. I call these the "high-stakes" rooms because they're a mashup of water, electricity, and expensive fixtures. A small problem here can quickly turn into a massive, costly headache.
In these areas, you need to dig deeper.
Turn on every faucet, both hot and cold. How's the water pressure? Does the hot water actually get hot in a reasonable amount of time? Flush every toilet and stick around to make sure the tank stops running. Get a flashlight and peek under every sink for any drips, stains, or signs of recent water damage. Flip on the exhaust fans—do they sound like a jet engine taking off?
We've always believed a home's true quality is found in the details you don't always see right away. A faucet that works perfectly isn't just a small convenience; it’s a sign that the plumbing system behind the wall was installed with care and expertise.
To give you a handy reference, we've put together a quick checklist to keep you on track as you move through the house.
Essential Interior Inspection Checklist
This table breaks down the key items to focus on in each area. It’s a great tool to have pulled up on your phone during the walkthrough.
| Room/Area | Key Items to Check | Common Issues to Look For |
|---|---|---|
| Living/Family Room | Walls, ceiling, flooring, windows, outlets | Scuffs, nail pops, uneven paint, scratched floors, faulty outlets |
| Kitchen | Appliances, faucets, sink drains, cabinets, countertops | Leaky faucets, non-working appliances, chipped countertops, sticky drawers |
| Bedrooms | Windows, doors, closets, light fixtures, outlets | Windows that don't lock, doors that stick, flickering lights, outlets near bed |
| Bathrooms | Faucets, toilet, shower/tub, exhaust fan, vanity | Low water pressure, running toilet, poor drainage, loud fan, water stains |
| Laundry Room | Washer/dryer hookups, ventilation, flooring | Leaky hookups, blocked dryer vent, water damage on the floor |
| Hallways/Stairs | Handrails, lighting, flooring, smoke detectors | Loose handrails, worn carpet on stairs, non-functional smoke detectors |
Using a structured approach like this ensures you're not just wandering aimlessly but actively inspecting the home you're about to invest in.
Think of this final interior check as proofreading the last chapter of your home’s construction story. If you’ve ever found the original blueprints a bit confusing, you're not alone. That's why we created a simple guide on how to read construction blueprints. It can give you a better grasp of the builder's original vision, which is powerful context to have during your final walkthrough.
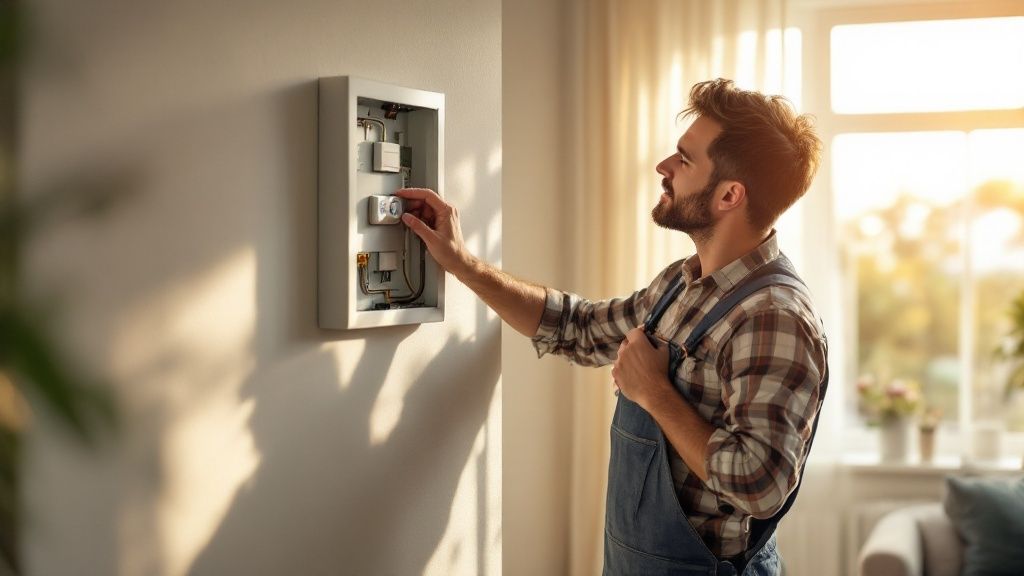
Giving Your Home's Major Systems a Workout
Flipping a light switch is easy enough, but the big-ticket items—HVAC, plumbing, and electrical—are the real heart and soul of your new home. Testing them now is one of the most important parts of your walkthrough. Think of this as a shakedown cruise, not a full-blown inspection. Your goal is to make sure you’re not inheriting a money pit on day one.
These systems are the unsung heroes of daily life, and a quick glance just won’t do. After spending 21+ years of proven results building and repairing homes right here in the Fayetteville area, we at SEGC know that when a major system goes down, it’s a full-blown crisis. A surprise failure can turn the thrill of getting the keys into a complete nightmare.
Time to Check the Climate Control
First up is the HVAC (Heating, Ventilation, and Air Conditioning). I don’t care if it’s 100 degrees outside—you absolutely need to test both the heat and the A/C.
Crank that thermostat up and listen for the furnace to kick on. You should feel warm air pushing through the vents within a minute or two. Once you confirm the heat works, switch it over to A/C and make sure you’re getting genuinely cold air. This simple check tells you if the core components are even functional.
Putting the Plumbing Through Its Paces
Alright, now let's make some waves. You need to visit every single faucet in the house. That means kitchen sinks, all bathroom sinks, showers, tubs, and the laundry room. Turn on both the hot and cold water at each one.
You’re watching for two key things:
- Good, solid water pressure. Is it a powerful stream or a sad little trickle? Weak pressure can be a sign of bigger problems.
- How long it takes for hot water to show up. A little wait is normal, but if you’re standing there for ages, there could be an issue with the water heater.
And don't forget the toilets. Flush every single one. Make sure they drain with authority and, just as importantly, that they stop running once the tank is full. A toilet that constantly runs is more than just annoying; it's a leak waiting to happen.
As a Native American-owned firm that lives and breathes quality, we’ve seen how tiny plumbing clues can point to massive headaches. We once had a client in Lumberton who noticed a slow drain during their walkthrough. That simple observation saved them from a nasty sewer backup just a few weeks after they moved in because we empowered them to look for the right signs.
Powering Up the Electrical and Appliances
Last but not least, it's time to check the juice. Find the electrical panel (breaker box) and open it up. Is it a clean, well-labeled command center, or does it look like a spaghetti monster exploded? While you’re there, it’s smart to understand what a tripping breaker might mean. It's worth learning about troubleshooting common circuit breaker issues so you know what to look for.
Now for the fun part: test everything that plugs in or is hardwired. Run the dishwasher on a quick rinse cycle. Turn the oven on to make sure it heats up without smelling like burning plastic. Test every outlet with a phone charger. Flip on the garbage disposal. Don't forget the garage door opener. You want to be sure that all systems are go before you sign on that dotted line.
What to Do When You Find an Issue
Finding a problem during your final walkthrough can send a jolt of panic through you, but take a deep breath—it happens more often than you’d think. After more than 21 years of guiding clients in Fayetteville and Lumberton through this exact moment, we know the key is to stay calm and methodical. This isn't about picking a fight; it's about making sure the deal is fair.
The second you spot something amiss—a leaky faucet, a fresh dent in the drywall, or a repair that was promised but never done—pull out your phone. Your first move is to document everything. Take clear, well-lit photos and even a quick video. Jot down detailed notes about what you're seeing, its exact location, and why it's a problem.
Then, call your real estate agent. Immediately. Time is of the essence here.
Your Options for Resolution
Once your agent is in the loop, they'll reach out to the seller's agent to get the ball rolling. You generally have a few ways to handle this, and the best path forward really depends on how serious the issue is.
- Negotiate a Credit: For minor stuff, the cleanest solution is often asking for a credit at closing. This just means the seller agrees to give you a certain amount of money from the sale to cover the repair yourself.
- Delay the Closing: If it’s a bigger problem that absolutely has to be fixed before you move in (think a non-working HVAC system in July), your agent can request to push back the closing date until the work is done.
- Hold Funds in Escrow: Another solid option is to have an agreed-upon amount of the seller’s money held in an escrow account. The seller only gets that cash after they’ve completed the repair to your satisfaction.
This image breaks down those critical first steps when you find a problem.
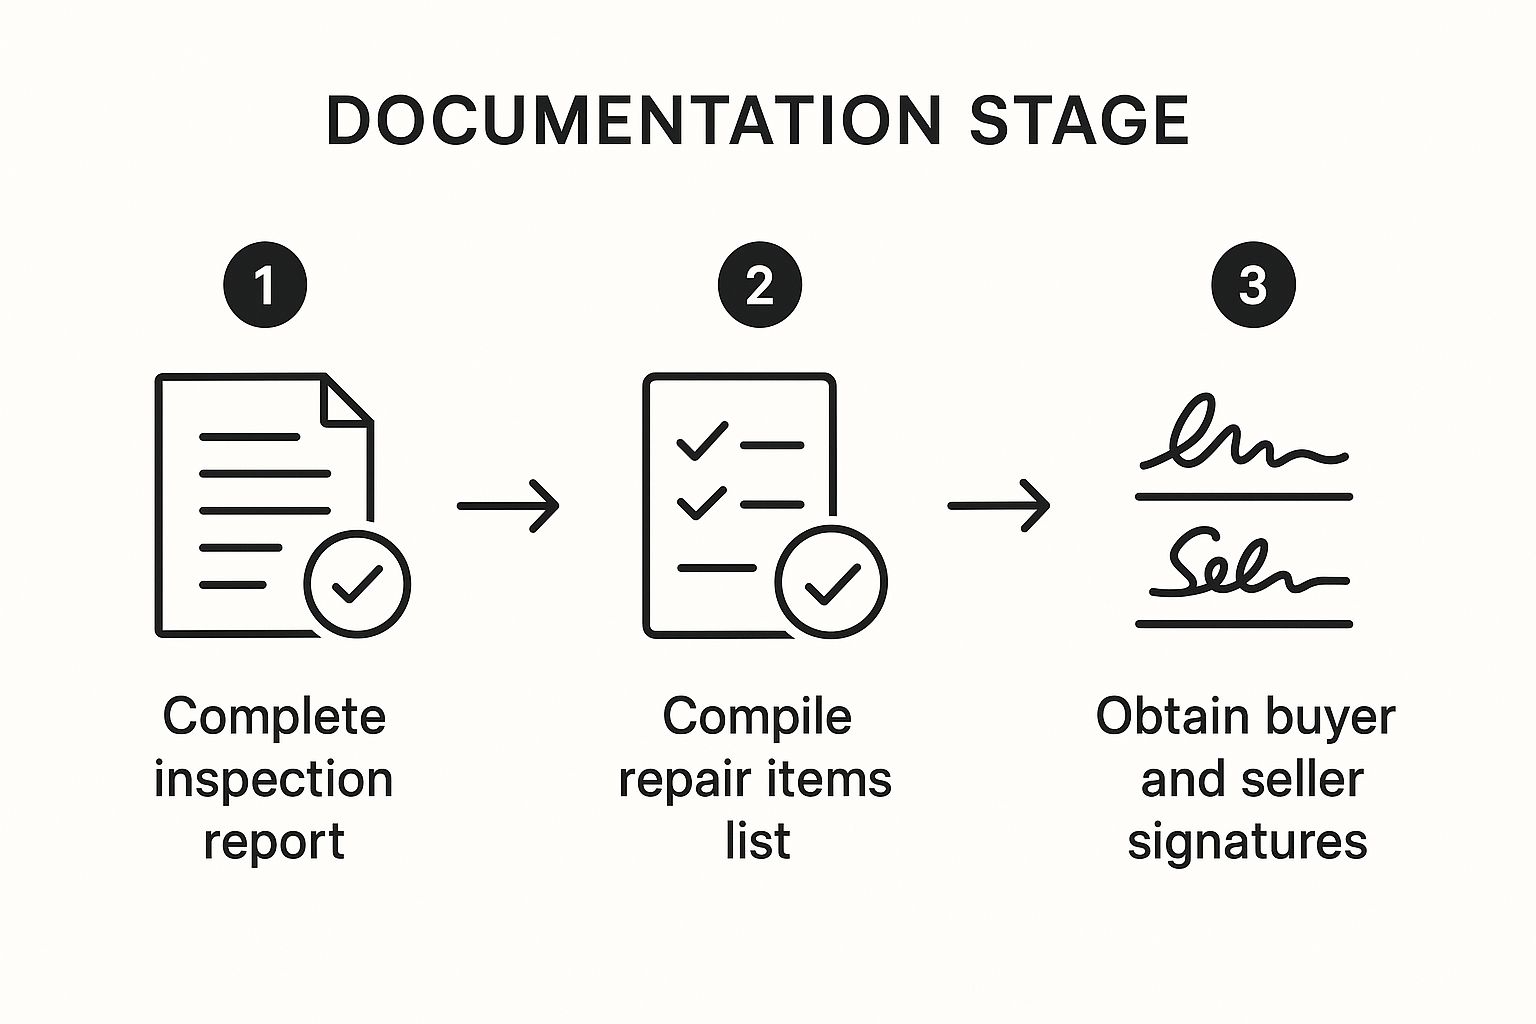
As you can see, the final, non-negotiable step is getting everything in writing. A signed agreement ensures everyone is on the same page and protects you from any "he said, she said" drama later.
Navigating the Conversation with Confidence
This walkthrough is your last line of defense. It's your final chance to make sure the property is in the condition you agreed to buy it in. Your purchase contract should give you the right to seek a resolution if things aren't right, which is a crucial protection for such a massive investment.
As a Native American-owned and 8(a) certified firm, our entire business is built on client trust and integrity. We always tell our clients to approach this conversation with a problem-solving mindset. Calmly present the evidence you've gathered and propose a fair solution. It's about collaboration, not confrontation.
If you end up taking a credit and need to hire someone for the repair, finding a reliable pro is key. Our guide on how to find a good contractor is packed with trusted advice to help you get the job done right the first time.
Your Top Questions About the Final Walkthrough, Answered
Even with the perfect house walkthrough checklist, you're going to have questions. It’s a huge moment, and feeling a little jittery is completely normal. After guiding homebuyers through this exact process for over 21 years in communities like Fayetteville and Lumberton, our local leadership team at SEGC has heard it all.
So, let's tackle the questions that are probably buzzing around in your head right now. Think of this as your pre-game pep talk before you grab the keys.
When’s the Right Time to Do This?
Timing is absolutely critical here. You'll want to schedule your walkthrough as close to the closing time as possible. The morning of closing is ideal. Why? It leaves virtually no time for a new issue—like a burst pipe or a scratched floor from the movers—to pop up between your visit and the signing.
There's one non-negotiable condition: the sellers must be completely moved out. You can't properly check for scuffs on the hardwood if there are boxes everywhere. And always, always do this during daylight hours. Natural light is your best friend for spotting things that might be missed under the glow of a lightbulb.
Who Gets an Invite?
Keep the entourage small. Seriously. The only people who absolutely need to be there are you and your real estate agent. Your agent isn't just there to open the door; they're your advocate, your second set of expert eyes, and your witness.
It can get pretty awkward if the sellers are hanging around. You need to feel comfortable opening every cabinet and pointing out potential issues without feeling like you're being rude. While it's not standard practice, if there were some major repairs on the line, you could ask your home inspector to come back for a final look. Just know that'll come with an extra fee.
What Should I Bring to the Walkthrough?
Walking in prepared will make you feel a hundred times more confident. You don't need to show up with a contractor's tool belt, but a few simple items will make a world of difference.
Here’s your walkthrough go-bag:
- Your Purchase Agreement: This is your bible. It lists exactly what the sellers promised to leave and which repairs they agreed to handle.
- The Original Inspection Report: Pull this out to double-check that every single repair you requested has been done, and done right.
- A Notebook & Your Phone: You'll want to jot down notes and, more importantly, snap clear photos or videos of anything that seems off.
- A Phone Charger: This is my favorite little hack. It’s the fastest way to test every single electrical outlet in the house. Plug it in, see the light, and move on.
As a Native American-owned firm built on client trust, we believe preparation is the cornerstone of a successful project. Walking in with the right documents isn’t just about being organized; it’s about holding all parties accountable to the agreement.
Isn't This Just Another Home Inspection?
This is a big one, so let me be clear: no, the final walkthrough is not a home inspection. They serve two completely different purposes.
A home inspection is the deep-dive investigation. You hire a licensed pro to crawl into the attic and poke around the foundation to find potential problems before you're locked in.
The final walkthrough is all about verification. Your job is to confirm two things: first, that the home is in the same condition as when you agreed to buy it, and second, that all the seller’s agreed-upon repairs are complete. This is your last chance to check their work, not an opportunity to open a new round of negotiations.
At South Eastern General Contractors, we believe in building legacies, not just structures. This final step is crucial in protecting your family’s new beginning. Our commitment to quality has been our hallmark in the Fayetteville community for over two decades. If you’re dreaming of a home built with integrity from the ground up, let's start the conversation.